2.4 GHz Wi-Fi Bridge Biquad (PETG Radome)
Overview
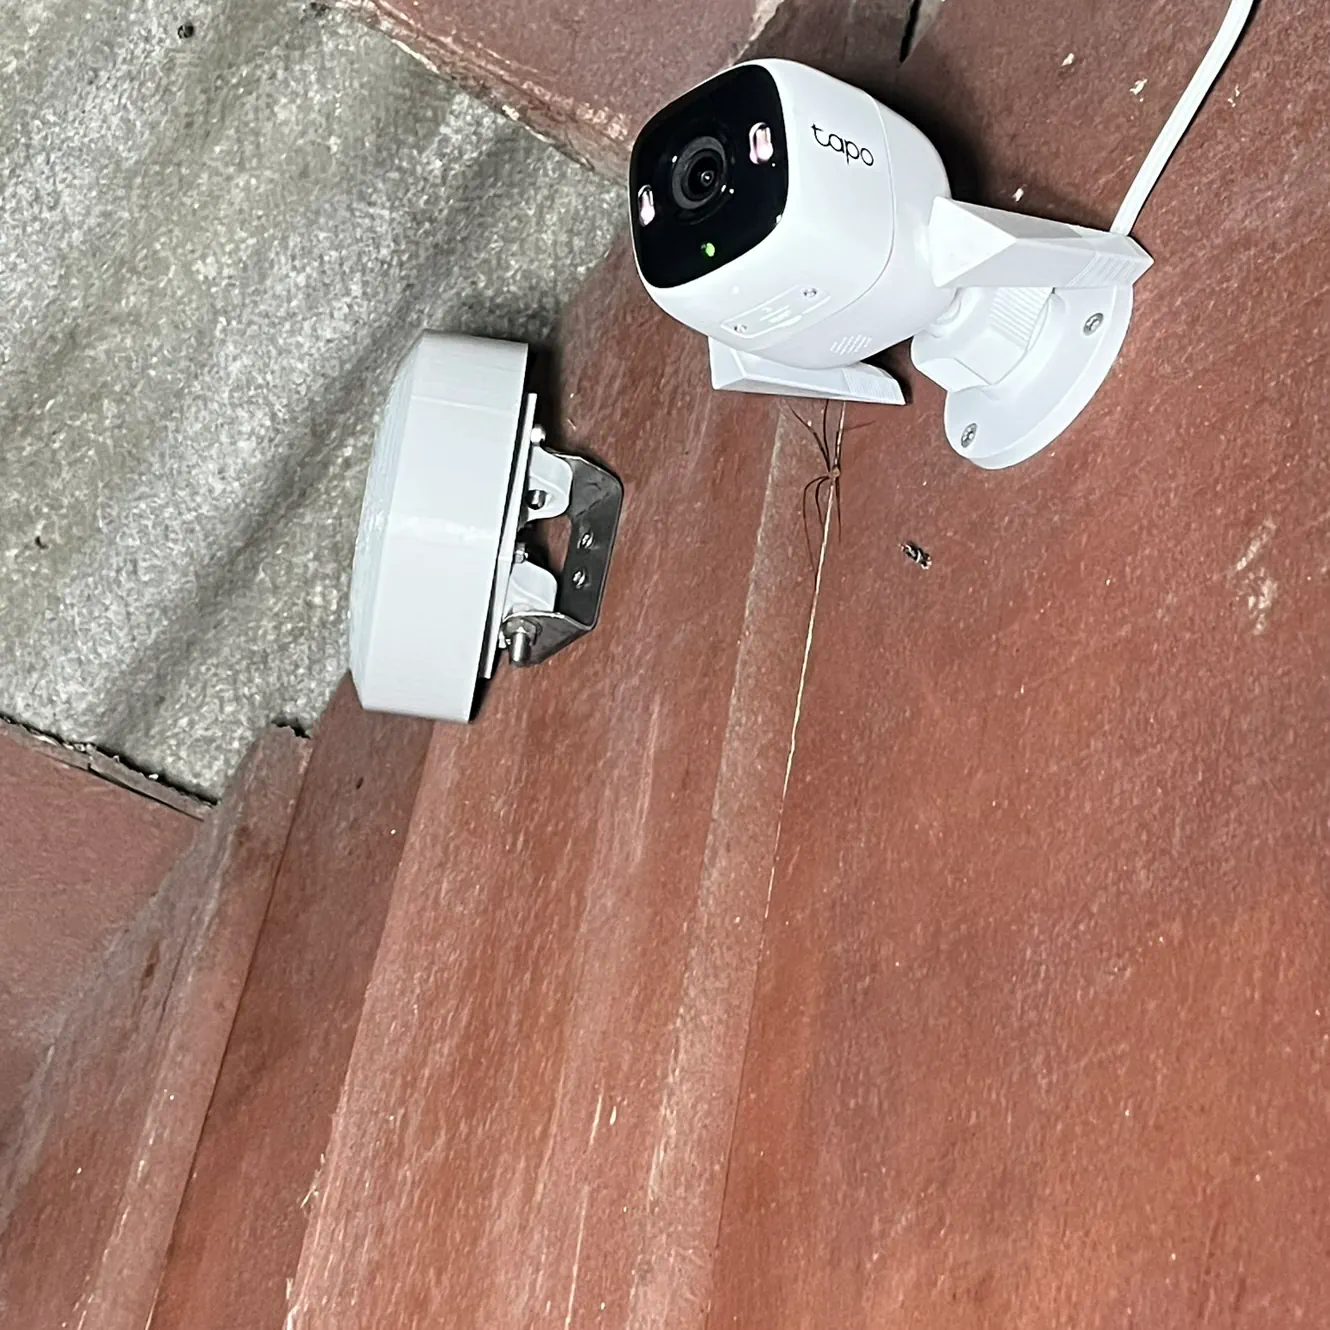
Infrastructure-grade short link
This antenna was built to stabilize a short-range outdoor Wi-Fi backhaul where the path is partially obstructed (roof edge and house walls). The objective was reliability over maximum theoretical gain: after installation the link should behave like infrastructure, not a recurring problem.
The RF core is a classical 2.4 GHz biquad geometry paired with an oversized copper reflector. A custom 3D-printed PETG radome and stainless mounting hardware turn it into a maintenance-free outdoor unit.
Validated in real operation: RSSI improved and disconnects/re-associations stopped.
Design decisions
- Oversized reflector: 120 mm disc to improve forward gain and pattern stability.
- Rigid geometry: printed center holder keeps spacing consistent and protects the feed point.
- Outdoor readiness: PETG radome + epoxy seal for “install and forget” operation.
- Permanent hardware: stainless bracket for corrosion-proof long-term mounting.
Build notes
- Wire: 2 mm copper for rigidity and repeatable shape.
- Geometry: typical 2.4 GHz biquad dimensions (forgiving) validated empirically on-site.
- Feed: short 50 Ω Wi-Fi coax (~50 cm), direct routing through wall.
- No choke: not required in this setup due to short feed and stable behavior observed.
Results
- RSSI: ~−71 dBm → ~−62 dBm after installation.
- Stability: disconnects eliminated, no re-associations in normal operation.
- Outcome: link transitioned from unreliable to infrastructure-grade.
Next
This design will be replicated as the outdoor “quail network” expands: sensors, automation, telemetry and additional cameras. The next logical step is building a second matched unit and running a dedicated point-to-point bridge to increase throughput and link margin.
- Second unit: matched enclosure + radiator for a paired bridge link.
- Mount close-up: add dedicated photos of the stainless clamp (straight-on + 45°).
- Serviceable v2: gasket + screws instead of permanent epoxy seal.
- Optional RF hygiene: add a simple coax choke near the feed point.